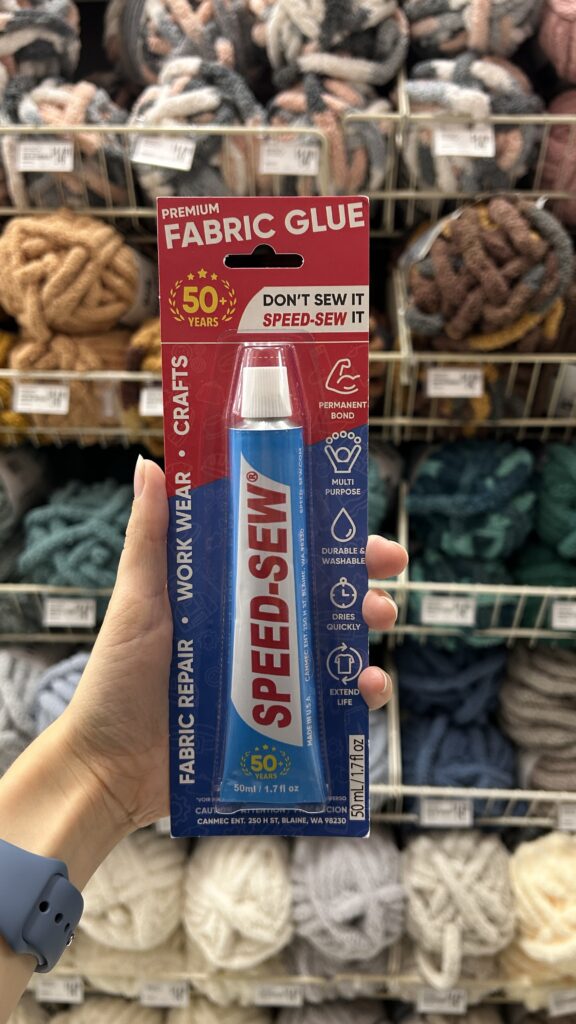
Leather Repair Glue - Speed Sew
Introduction
Leather Repair Glue helps fix leather things like sofas, shoes, and car seats. This glue can make old, damaged items look new again. In this guide, we will explain what leather repair glue is, why it’s useful, how to pick the best one, and how to use it step-by-step.
What is Leather Repair Glue?
Leather repair glue is a special type of glue that sticks leather pieces together. It is strong and flexible, so it can handle the stretching and bending that leather does. You can use it on things like furniture, shoes, bags, and car seats.
Benefits of Using Leather Repair Glue
Using leather repair glue has many benefits:
- Saves Money: Instead of buying new leather items, you can fix the ones you already have.
- Easy to Use: You can repair small damages quickly with just a little bit of glue.
- Makes Things Last Longer: Fixing small problems prevents them from getting worse, so your leather items last longer.
- Keeps Things Looking Good: Proper repairs make your leather items look new and well-maintained.
How to Choose the Best Leather Repair Glue
To choose the best leather repair glue, think about these things:
- Strong and Flexible: The glue should hold well and stay flexible.
- Dries Clear: It should dry clear so it blends in with the leather.
- Safe: Make sure the glue is non-toxic, especially if it will touch your skin.
- Drying Time: Some glues dry fast, and others take longer.
- Read Reviews: Look at what other people say about the glue to make sure it will work for your repair.
Preparing the Leather Surface
Before you use the glue, prepare the leather surface:
- Clean the Leather: Use a mild soap solution to clean off dirt and oils, then let it dry.
- Smooth the Surface: If the leather is rough or cracked, gently sand it to make it smooth.
- Remove Residue: Wipe the area with a damp cloth to get rid of any dust from sanding.

Applying the Glue
Here’s how to apply the leather repair glue:
- Apply Glue: Squeeze a small amount of glue on the damaged area. Use a brush or toothpick to spread it evenly.
- Bond the Edges: For bigger tears, put glue on both edges before pressing them together.
- Hold Firmly: Hold the pieces together for a few minutes so the glue can bond. Follow the instructions on the glue bottle for the exact time.
Finishing Touches
After the glue has set:
- Inspect the Repair: Look for any extra glue and gently scrape it off with a blunt knife.
- Condition the Leather: Use a leather conditioner to make the repaired area soft and shiny again.
- Let It Cure: Don’t use the repaired item for at least 24 hours so the glue can fully set.
Tips and Tricks for Effective Leather Repair
For the best results, try these tips:
- Test First: Always test the glue on a small hidden area to make sure it works well with your leather.
- Use Masking Tape: Use tape to hold the edges together while the glue dries.
- Match the Color: Use glue that matches the color of your leather for a seamless repair.
- Use Patches for Big Damage: For bigger damages, use a leather patch with the glue for extra strength.
Common Mistakes to Avoid When Using Leather Repair Glue
Avoid these mistakes when using leather repair glue:
- Skipping Preparation: Clean and smooth the leather before you glue for a strong bond.
- Using Too Much Glue: Too much glue can overflow and make a mess.
- Not Waiting for It to Dry: Don’t use the item too soon. Let the glue dry completely.
- Using the Wrong Glue: Always use glue made for leather.
Conclusion
Leather repair glue is a great way to fix and keep your leather items, you can make your leather things look good as new. Remember, choosing the right glue, preparing the surface, and applying the glue carefully are the keys to a successful repair. With a little effort, your leather items can last a long time.
